Composting 101: 7 Simple Steps for Beginners
Composting 101 starts with a simple idea: food scraps and yard waste that would otherwise go to a landfill can instead turn into rich, free fertilizer for your garden. It takes a little patience, but the process itself is far more forgiving than most beginners expect.
What You Can and Can’t Compost
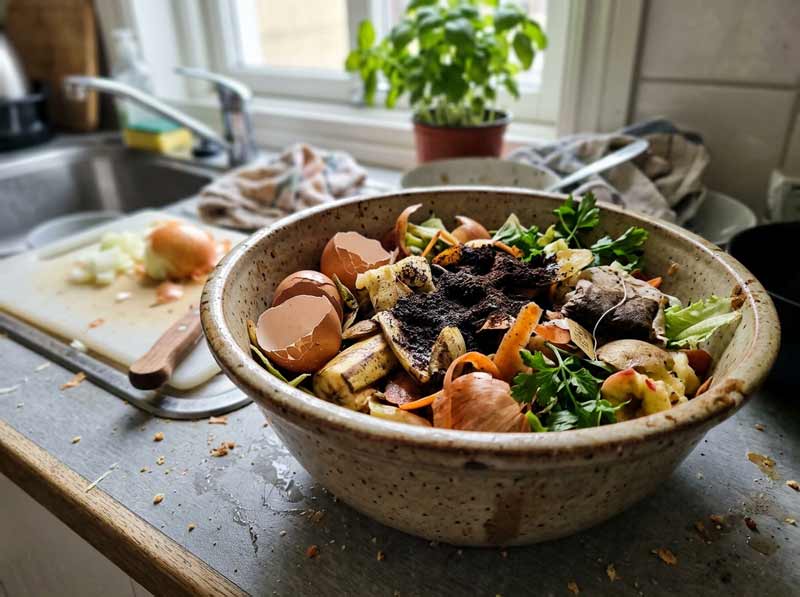
Compostable: fruit and vegetable scraps, coffee grounds and filters, crushed eggshells, yard trimmings, dry leaves, and shredded plain paper or cardboard.
Avoid composting: meat, dairy, oily or greasy foods, pet waste, diseased plants, and anything treated with pesticides — these can attract pests, cause bad odor problems, or introduce pathogens into your finished compost.
Choosing the Right Compost Bin Type
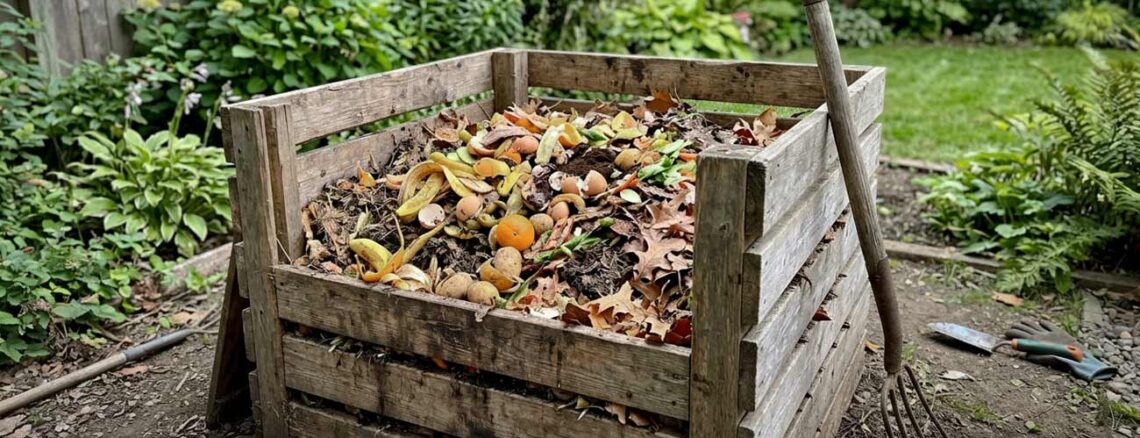
Composting 101 doesn’t require a fancy setup, but the right container makes the process noticeably easier. Open piles are the cheapest option and work fine for larger yards, though they can look messy and take slightly longer to break down evenly. Enclosed bins (plastic or wooden) keep things tidier, retain heat and moisture better, and tend to deter pests more effectively than an open pile. Tumbling composters make turning effortless — just spin the drum every few days — and often produce finished compost faster, though they typically hold less volume than a stationary bin.
For small yards or apartment balconies, a compact enclosed bin or even a countertop electric composter can work well for kitchen scraps alone, though you’ll likely still want an outdoor setup for yard waste.
Composting 101: 7 Simple Steps to Get Started
- Choose a bin or pile location — a shaded spot with good drainage works best, whether you use a store-bought bin, a simple wire enclosure, or an open pile.
- Layer greens and browns — alternate nitrogen-rich “greens” (food scraps, grass clippings) with carbon-rich “browns” (dry leaves, cardboard) roughly in equal parts.
- Keep it as damp as a wrung-out sponge — too dry slows decomposition, while too wet can cause odor and attract pests.
- Turn the pile every 1-2 weeks with a pitchfork or shovel to add oxygen, which speeds up the breakdown process significantly.
- Monitor the temperature — a healthy, actively decomposing pile often feels warm to the touch in its center.
- Be patient — depending on conditions, finished compost typically takes 2-6 months to develop a dark, crumbly, earthy-smelling texture.
- Use it once it’s ready by mixing finished compost into garden beds, containers, or as a top dressing around existing plants.

Troubleshooting Common Composting Problems
A bad smell usually means too much moisture or too many “greens” — add dry browns and turn the pile. A pile that isn’t breaking down often needs more moisture, more nitrogen-rich material, or more frequent turning. Pests are typically drawn to meat, dairy, or oily scraps, so removing those and covering fresh additions with a layer of browns usually solves it. Most composting 101 problems trace back to one of these three imbalances, so working through them in order usually gets a struggling pile back on track quickly. The EPA’s composting guide covers additional troubleshooting if your setup needs more specific adjustments.
Final Thoughts
Composting 101 really comes down to balance — greens and browns, moisture and air, patience and occasional attention. Once you’ve built your first working pile, maintaining it becomes a quick, almost automatic weekly habit, and your garden soil will noticeably benefit from the free, nutrient-rich compost you’re producing right at home.
Have a specific composting question or setup issue? Contact us — we’re happy to help point you in the right direction.

You May Also Like
7 Simple Steps to Start a Vegetable Garden for Beginners
Best Mulch for Flower Beds: 7 Easy Options to Try