How to Build a DIY Compost Bin: 6 Easy Steps
How to build a DIY compost bin comes down to a simple enclosure that holds organic material while letting in enough air for it to break down properly. You don’t need a store-bought tumbler or fancy hardware — a basic wood or wire bin built in an afternoon works just as well for most home gardens.
What You’ll Need
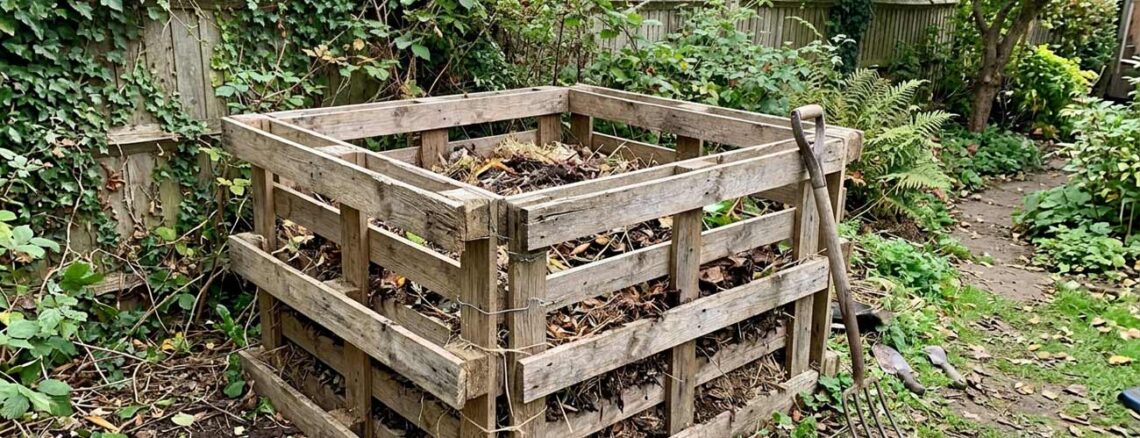
For a simple wood pallet compost bin, gather three to four wooden pallets (often free from hardware stores or online marketplaces), a drill, exterior screws or zip ties, and a pair of hinges if you want an openable front panel. Total cost typically runs under $20 if pallets are free.
How to Build a DIY Compost Bin: 6 Easy Steps
- Choose a location — pick a level, well-draining spot with partial shade, ideally close enough to the kitchen for convenience but away from direct sightlines if appearance matters to you.
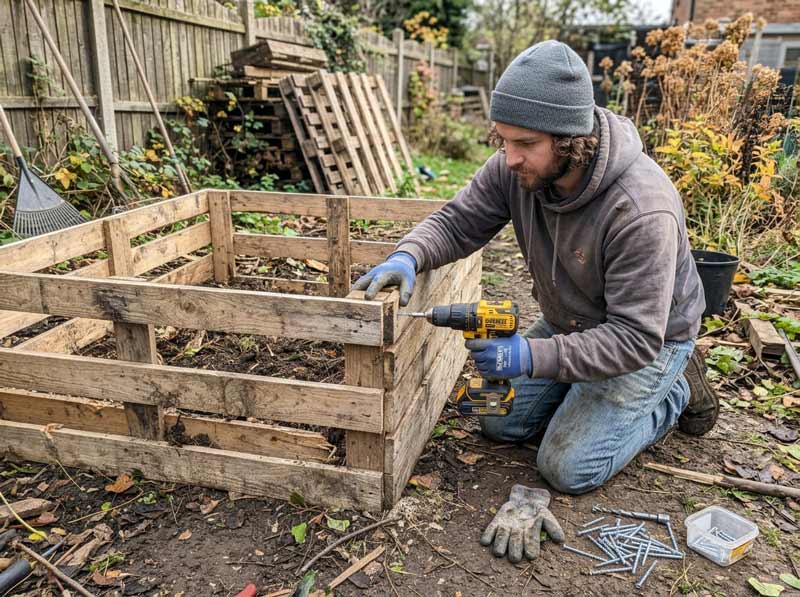
- Stand up three pallets in a U-shape to form the back and two side walls, securing the corners together with screws or heavy-duty zip ties.
- Attach the fourth pallet as a front panel using hinges, allowing it to swing open for easy turning and access to finished compost.
- Leave gaps between slats — pallet wood naturally has small gaps, which is exactly what you want for airflow into the pile.
- Line the bottom loosely with cardboard or straw to help with initial drainage and to discourage pests from tunneling in from below.
- Start layering greens and browns right away — the bin is ready to use as soon as it’s assembled.
Choosing the Right Size
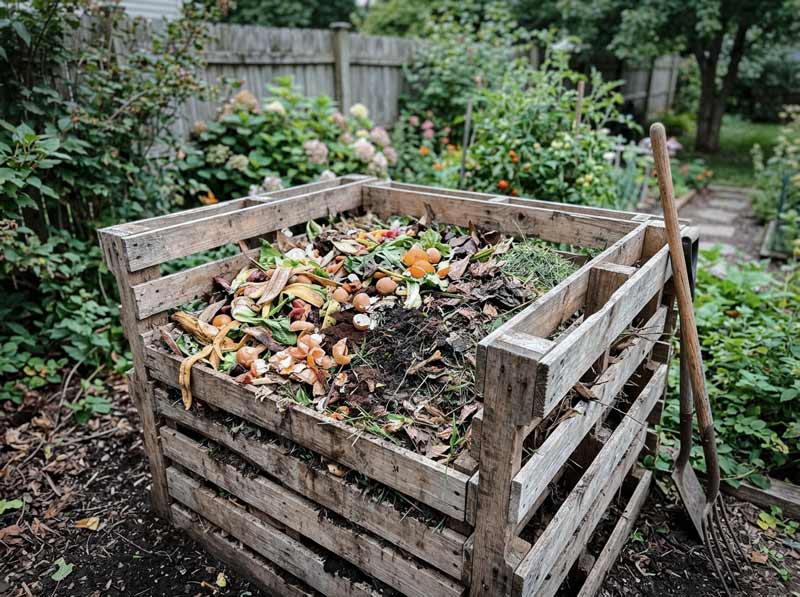
Size matters more than most first-time builders expect when figuring out how to build a DIY compost bin. A pile smaller than about 3x3x3 feet often struggles to hold enough heat to break down efficiently, especially in cooler climates.
Most standard pallets naturally produce a bin close to this size, which is part of why they’re such a popular starting material.
Larger households or anyone with a big yard generating lots of leaves and clippings may want to build two or three bins side by side, since having multiple piles at different stages of decomposition is often more practical than constantly digging through one single overloaded bin.
Alternative Compost Bin Designs
If pallets aren’t available, a simple wire mesh cylinder (hardware cloth formed into a circle and secured with zip ties) works just as well and costs even less. For a tidier look, a wooden box bin with a hinged lid, built from basic 2×4 lumber and plywood panels, keeps compost more contained and can double as a somewhat attractive garden feature. Learning how to build a DIY compost bin doesn’t require picking just one design — some gardeners use multiple bins side by side, one actively filling while another finishes breaking down.
Maintaining Your DIY Compost Bin
Turn the pile every one to two weeks with a pitchfork to keep oxygen flowing and speed up decomposition — this simple habit is often the difference between a bin that works well and one that stalls out. Keep the pile roughly as damp as a wrung-out sponge, adding water during dry spells or extra dry browns if it gets too wet. A well-built bin, once you’ve figured out how to build a DIY compost bin that fits your space, should need little beyond occasional turning and balancing greens with browns to produce usable compost within a few months. University extension composting guides offer additional region-specific troubleshooting if your pile isn’t breaking down as expected.
Final Thoughts
Knowing how to build a DIY compost bin means you can start composting for next to nothing, using materials many people can source for free. Whether you go with pallets, wire mesh, or a simple wooden box, the main goal is the same: good airflow, manageable size, and easy access for turning and harvesting finished compost.
Have a specific yard size or bin design question? Contact us — we’re happy to help point you in the right direction.

You May Also Like
Fixing Common Lawn Mower Problems Yourself: 7 Easy Fixes