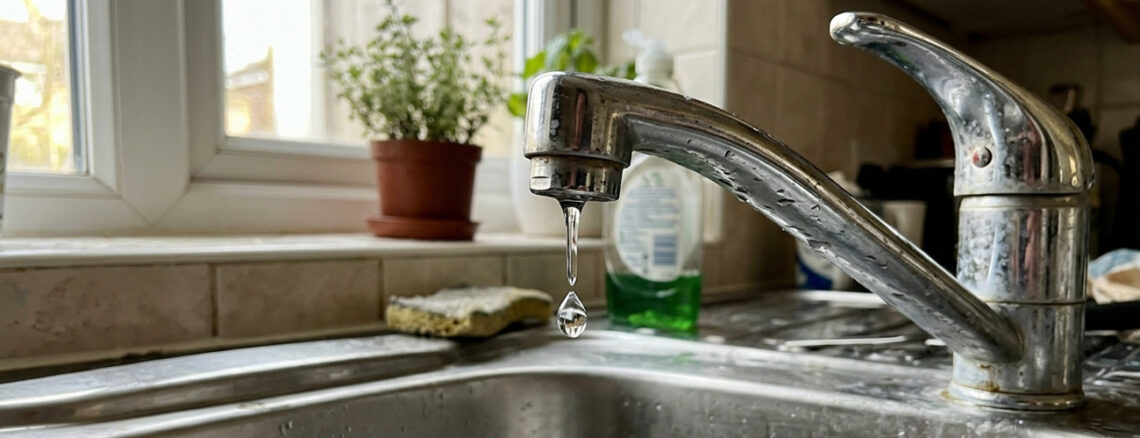
How to Fix a Leaky Faucet: 5 Easy Steps for Great Results
Tools You’ll Need
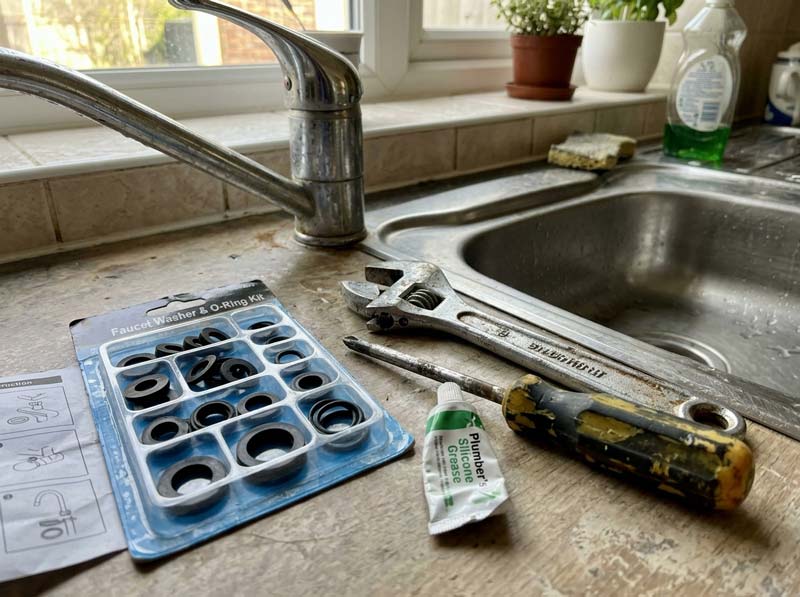
Before you start, gather an adjustable wrench, a flathead and Phillips screwdriver, plumber’s grease, and a replacement washer or O-ring kit (available at any hardware store — bring your old part if unsure which size to buy).
How to Fix a Leaky Faucet Step-by-Step
- Shut off the water under the sink at the shutoff valve, then open the faucet to release remaining pressure.
- Remove the handle by unscrewing the cap and screw underneath — this exposes the faucet’s internal cartridge or stem.
- Pull out the cartridge or stem and inspect the washer or O-ring for cracks, flattening, or wear.
- Replace the worn part, coat the new O-ring lightly with plumber’s grease, and reinsert the cartridge.
- Reassemble the handle, turn the water back on, and test for leaks.
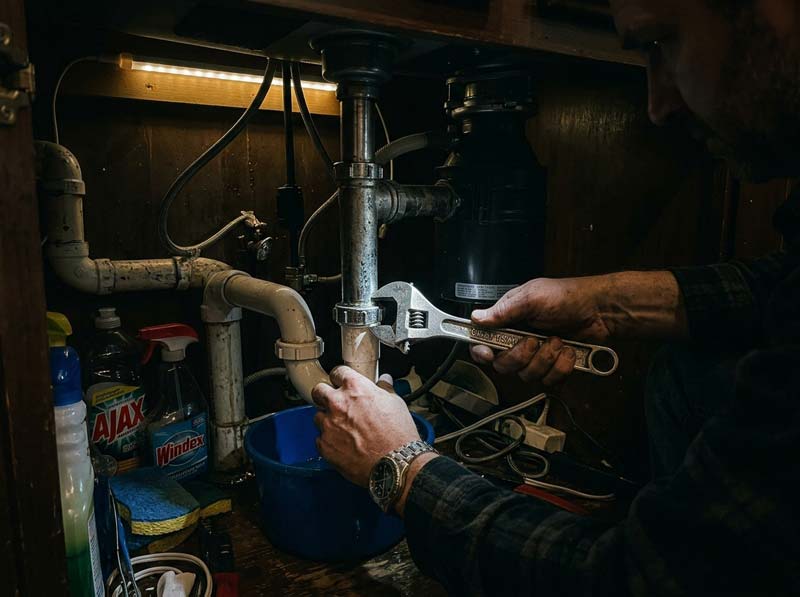
When to Call a Plumber Instead
If the leak continues after replacing the washer, or you notice corrosion, cracked pipes, or low water pressure throughout the house, it’s worth calling a licensed plumber. According to the EPA’s WaterSense program, household leaks waste over a trillion gallons of water nationwide each year, so it’s worth fixing promptly either way.
Final Thoughts
Knowing how to fix a leaky faucet saves money, water, and the annoyance of that constant drip. Most fixes just require a new washer or O-ring, 30 minutes, and a few basic tools already sitting in most garages.
Got a specific faucet issue you’re stuck on? Contact us — we’re happy to help point you in the right direction.
